Creating and managing offers is an essential feature in UCLIQ, enabling clients to control targeting, payout structures, and publisher access. This guide outlines the steps to add and configure a new offer in UCLIQ, focusing on basic and advanced settings for streamlined campaign management.
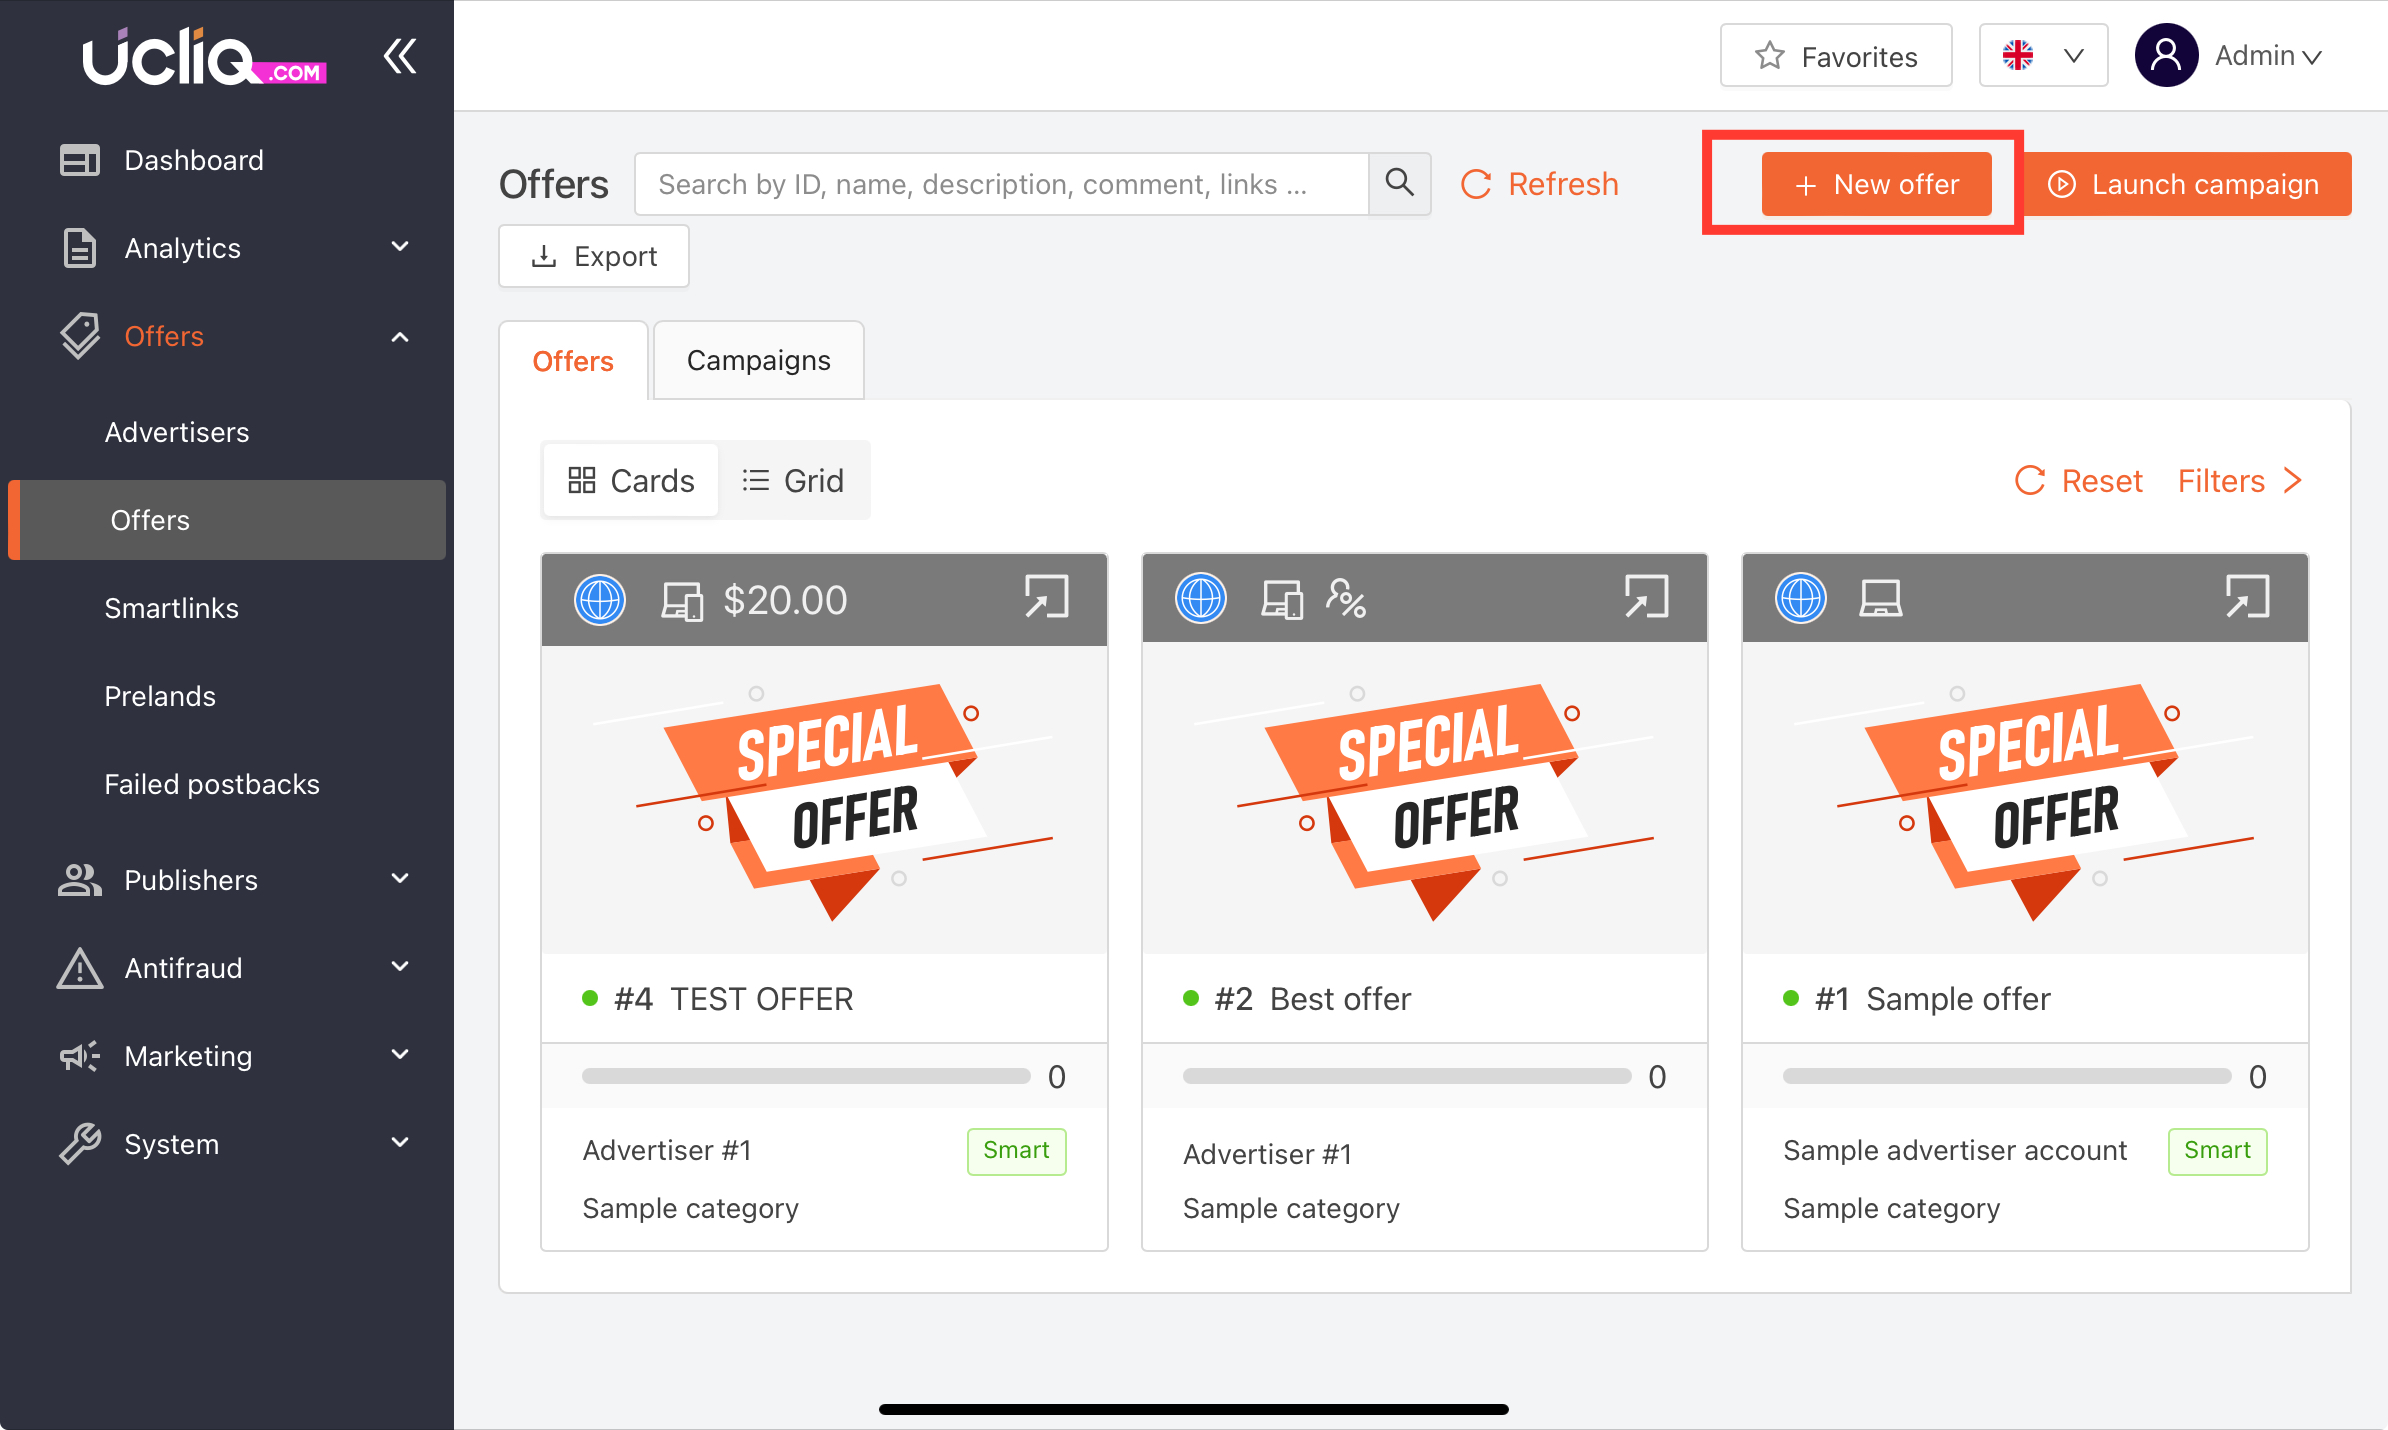
To start the offer setup, navigate to the Offers section and click + New Offer:

General
Name: Enter a public name for the offer, which will appear in publisher reports.
Original Name: Optionally add the original advertiser-provided name for internal reference.
Advertiser Account: Select the advertiser associated with this offer.
Currency: Choose the currency for this offer’s postbacks (default is the currency of the selected advertiser account).
Expected Payout: Indicate the payout range or estimated payout rate.
Main Category: Select a category for the offer (e.g., finance, health) to group similar offers.
Manager: User who is responsible for this offer
Tracking domain: Choose the tracking domain from the list
Campaigns availability:
-
Available: Visible to all publishers.
-
On Request: Publishers can view but require approval to access.
-
Private: Hidden from publishers; accessible only upon manager activation.
Fallback URL: Define where to redirect traffic that doesn’t meet offer requirements.
-
Manual: Enter a custom URL.
-
System: Use the system-defined redirect link.
-
Smart: Redirect via a smart link if your UCLIQ plan includes this feature.
Description: Provide a description of the offer, including targeting and payout details visible to publishers.
Subsidy limit: Maximum budget available to support payouts, even if funds are temporarily low, ensuring continuous publisher engagement.
Publisher Limit: Caps the subsidy amount each publisher can receive, balancing budget distribution across all publishers.
Bot Return URL: Set a specific URL for bot and crawler traffic.
Redirect Type: Select the redirection mechanism (JavaScript or HTTP).
Risk Score Limit: Sets a threshold for detecting potential fraud in conversions. If a conversion’s risk score exceeds this limit, it’s held for review, preventing automatic payments until verified by a manager.
Targeting
Device and Platform: Choose allowed devices and platforms.
Geography: Select target regions or countries.
Traffic Types: Define acceptable traffic types (e.g., email, social media).
Link
Landing page: Use pre-landing pages to filter traffic and verify user intent before redirection to the offer.
URL or Advertiser Link: Specify the link to which traffic will be directed, using macros like {click_id} and {publisher_id} for dynamic parameter insertion.
Required Macros: Ensure {click_id} is included for accurate tracking and attribution.
Goals and Rates
Title: Give a name for your goal
Payout Model: Choose the conversion payment model for the offer:
Ratio: Pay a percentage of revenue generated.
Fixed: Set a fixed payout rate.
Goal-based: Configure specific goals and payouts associated with each goal.
Publisher payout type: Choose the payout type for the offer:
Multiple: Standard mode where each conversion generates a separate payment for the publisher.
First: Only the first conversion for a click ID is paid; subsequent conversions on the same click ID do not trigger payments.
Disabled: No payments are made for conversions on this goal; the publisher receives no payout for these postbacks
Daily Cap: Limit the number of conversions per 24 hours to control campaign costs.
Once all settings are complete, switch the offer status to Active to make it available to publishers.
Launch a test campaign by generating a tracking link and verifying the redirection.